Creating a bootable USB drive using Rufus is a simple process.
Follow these steps:
Requirements
- USB Drive: At least 4/8 GB in size (the actual size may vary depending on the OS image).
- Rufus Software: Download the latest version from the official Rufus website.
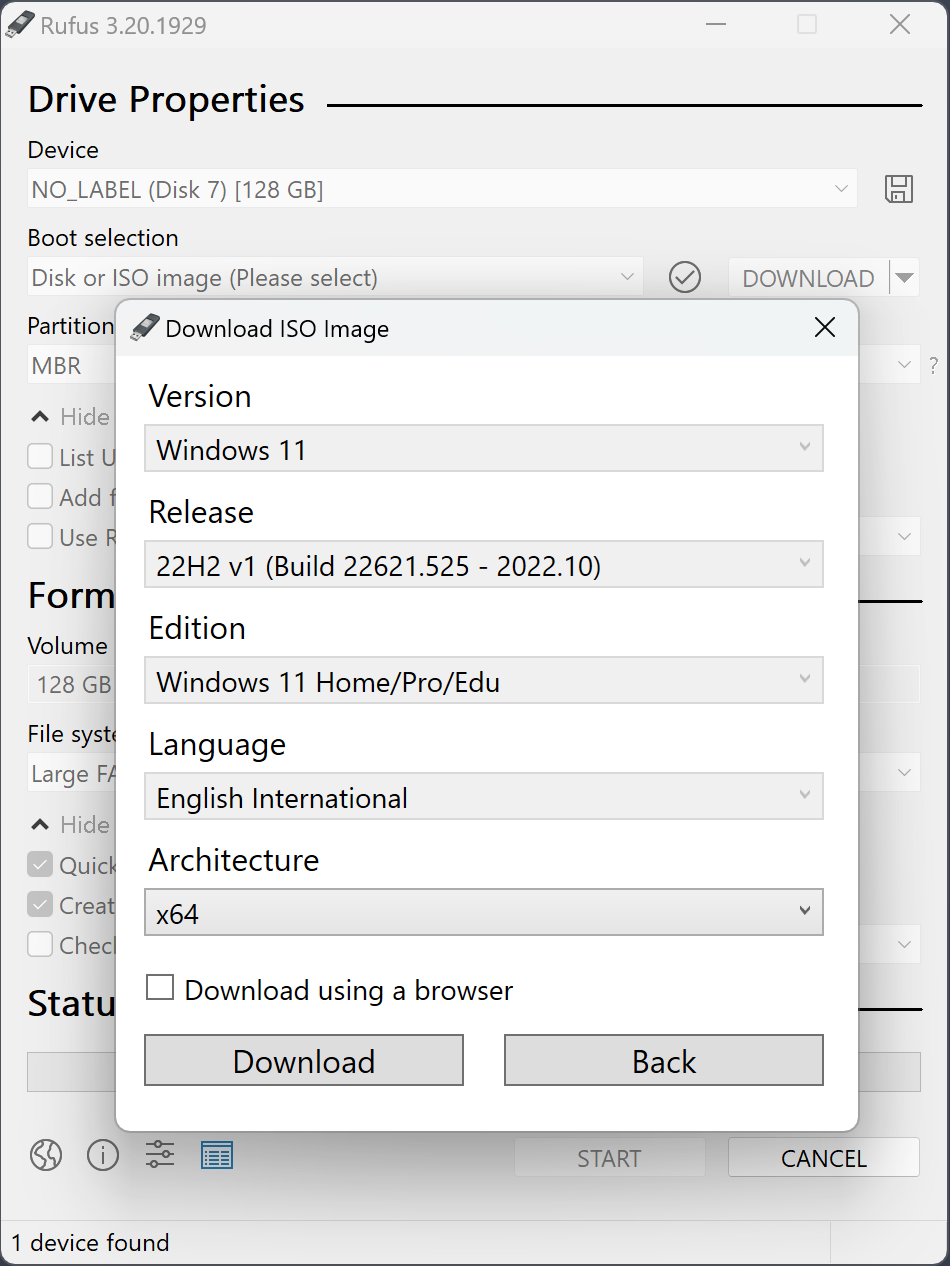
- ISO File: Obtain the ISO file of the operating system you want to install (e.g., Windows, Linux, etc.).
Steps to Create a Bootable USB Drive
- Insert the USB Drive: Connect your USB flash drive to your computer. Make sure to back up any important data from the USB drive, as the process will erase all data on it.
- Download and Run Rufus:
- Go to the Rufus website and download the latest version.
- Once downloaded, run the Rufus executable. There is no installation required as Rufus is a portable application.
- Select the USB Drive:
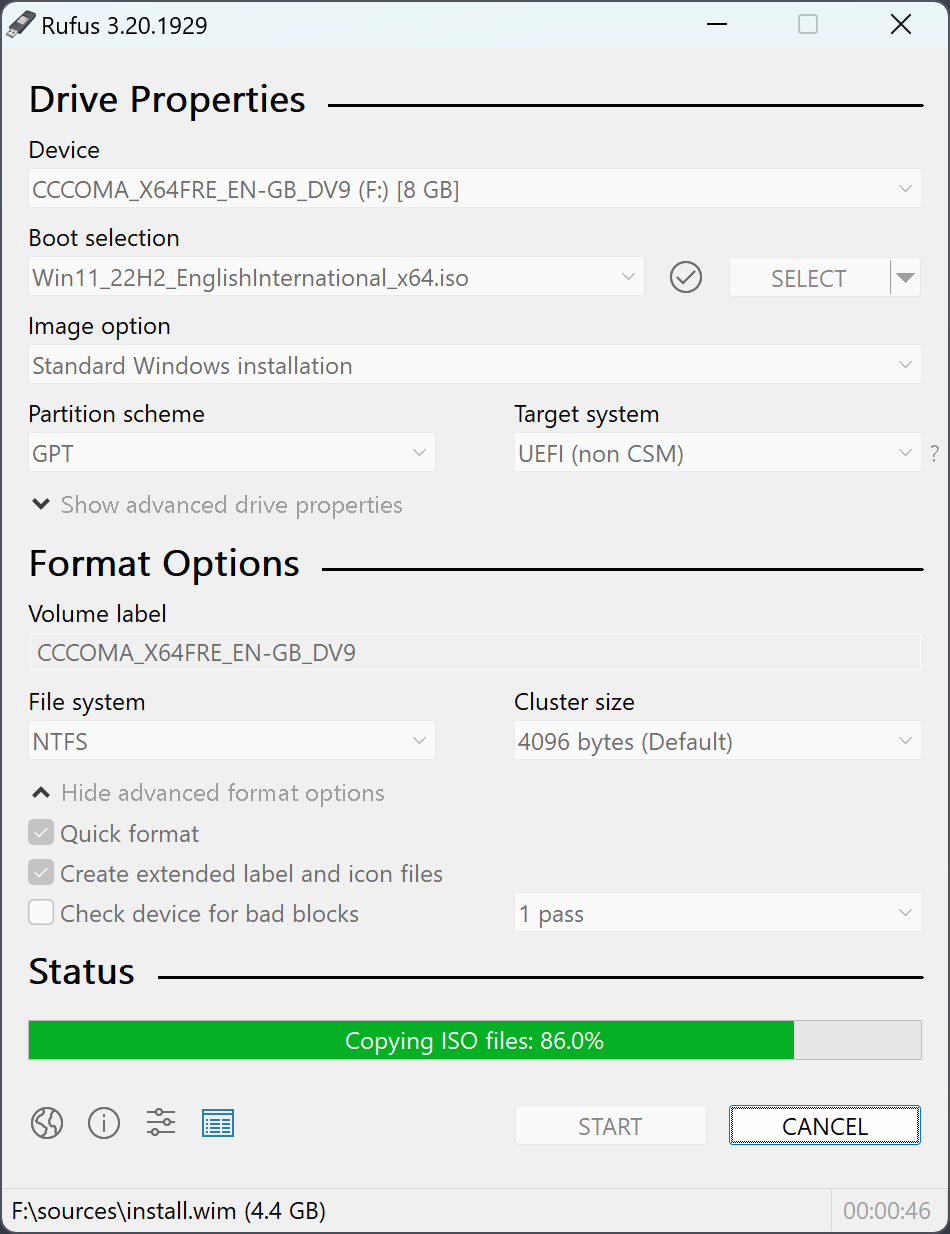
- In Rufus, locate the Device drop-down menu at the top. Select your USB drive from the list. Be cautious to select the correct device!

- Select the ISO File:
- Under the Boot selection section, click the SELECT button.
- Browse and select the ISO file of the operating system you wish to make bootable.

- Configure Partition Scheme:
- For most users, the default settings should suffice:
- Partition scheme: Choose MBR for legacy systems or GPT for UEFI systems. Most modern systems use UEFI.
- File system: Generally, you can leave this as FAT32 for compatibility; this limits file size to 4 GB. If the ISO has files larger than this, you might need to use NTFS.
- Volume Label and Other Settings:
- You can give the USB drive a volume label (name it as you wish).
- Keep other options at their default settings unless you have specific needs.
- Start the Process:
- Click the START button.
- A warning will pop up informing you that all data on the USB drive will be destroyed. Confirm that you understand by clicking OK.
- Wait for Completion:
- Rufus will now create the bootable USB drive. This process can take several minutes, depending on the size of the ISO and your USB drive speed.
- Completion:
- Once completed, you’ll see a “READY” message. You can then close Rufus and safely eject your USB drive.
Boot from the USB Drive
- Insert the bootable USB drive into the target computer.
- Restart the computer and access the boot menu (usually by pressing a specific key like F2, F12, ESC, or DEL during startup).
- Select the USB drive from the boot options to start the installation process.
That’s it! You now have a bootable USB drive ready for installation or recovery purposes. If you encounter any issues, check the ISO image and ensure it’s compatible with the target system.


Good,Keep it up…..